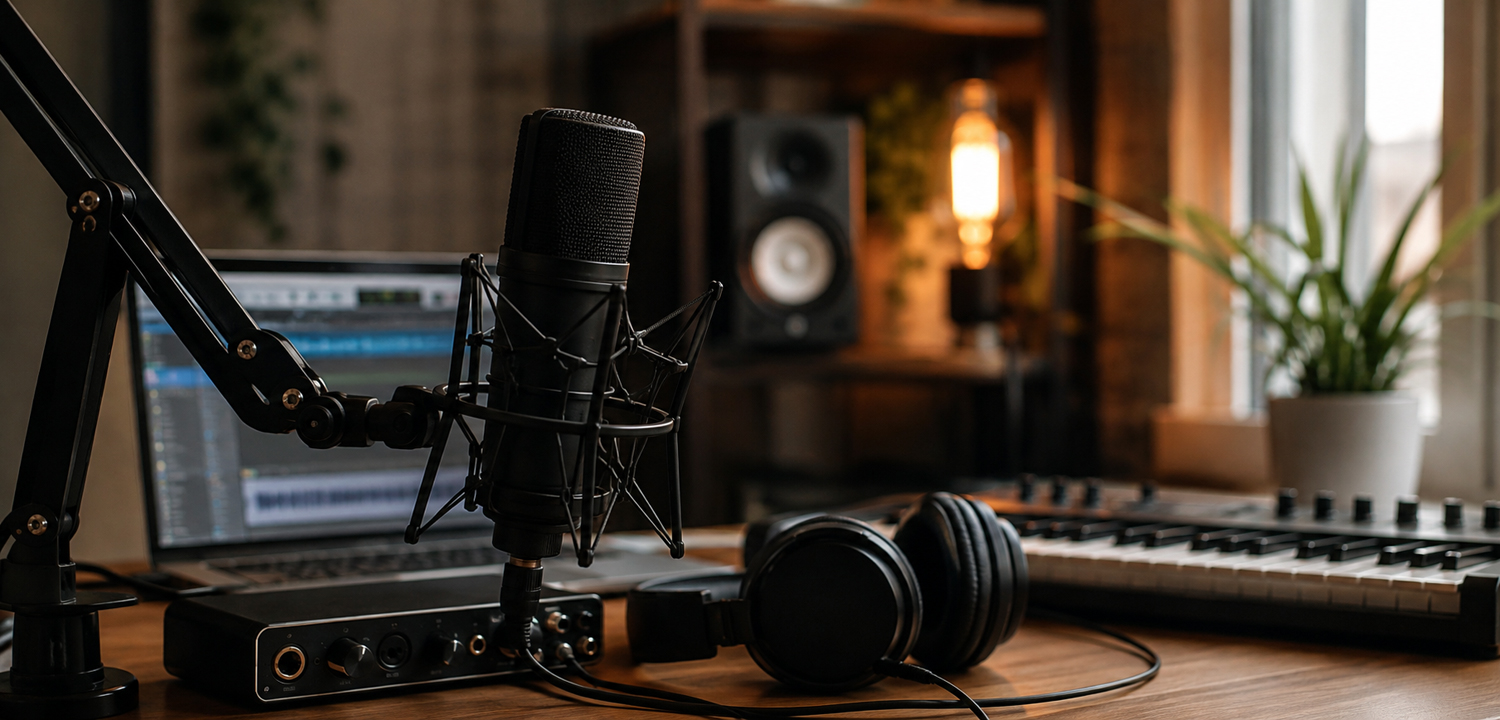
Need to record your own song, album, demo or podcast at home? Whatever your reasons and goals may be, this simple guide will help you get started recording yourself without getting buried in technical stuff.
The gear
First thing you’ll need is the right equipment: a computer (or a phone/tablet), an audio interface, which is the thing that lets you plug a microphone or instrument into your computer and listen back to what you record, a mic and headphones.
If you’re using a USB microphone, meaning a mic that plugs directly into your computer through USB, you may not need a separate interface at all. But if you’re using an XLR microphone, which uses the standard three-pin microphone cable you’ll see in most studios, you’ll usually need an interface.
Because I love you and want to make your life easier, I’m gonna be that guy and say I still like Macs for recording. They tend to be pretty plug and play with audio gear. But if you already have a decent PC, use it. There is no reason to replace a perfectly good computer before you’ve even pressed Record.
The software
Once you have the gear, you’ll need to decide on a digital audio workstation (DAW). That’s simply the app or program you use to record, edit and mix your audio.
GarageBand, Logic Pro, Pro Tools, Ableton Live and REAPER are a few examples. There are plenty more, ranging from free to very much not free.
The important thing is to find something that allows you to focus on your craft instead of getting bogged down by technical stuff. Unless you’re going for that, of course.
Setting up
Now that you’ve decided on your gear and a DAW, you’ll need to make sure everything is talking to everything else.
Ideally, choose a desk or table as a workspace. Connect your interface to your computer, plug in your headphones, turn everything on and open your DAW.
Go to the audio settings in your DAW. Depending on what you’re using, this may be called Preferences, Settings, Audio, Devices or something similar.
Make sure your interface is selected as the input device, meaning the device your computer receives audio from, and the output device, meaning the device it sends the audio back through so you can hear it.
Routing and signal flow
This is often where people get stuck. But it’s simple.
Signal flow is just the path the sound takes through your setup. For a basic vocal recording, it looks like this:
Voice → microphone → audio interface → DAW → headphones
Connect your mic to the interface and create a new audio track, sometimes called a channel, which is the place in your DAW where that recording will live.
If your mic is plugged into Input 1 on the interface, make sure Input 1 is also selected on the track in your DAW. If you plugged it into Input 2, select Input 2. You get the idea.
If you’re using a condenser microphone, a sensitive type of microphone commonly used for studio recording, it may need 48V phantom power. Phantom power is electricity sent through the microphone cable to power mics that need it. Check the instructions for your microphone before turning it on.
A dynamic microphone, the sturdy type of mic you’ll often see used for live vocals, usually doesn’t need phantom power.
Set your recording level
Before you record, sing, talk or play about as loudly as you expect to during the real performance and watch the meter in your DAW or on your interface.
The gain controls how much of the signal coming from your microphone or instrument gets amplified before it’s recorded.
You want enough level to get a clean recording, but you don’t want clipping. That’s what happens when the signal gets too loud for the system and starts distorting.
If the meter is constantly going into the red, turn the gain down.
You also want some headroom, which is basically some breathing room between the level you’re recording at and the point where it clips. You do not need to get your recording as close to the red as humanly possible.
We’ll get deeper into gain staging, which is the process of setting good audio levels throughout your recording setup, later in the Recording & Production track. For now, get a healthy signal and stay out of the red.
Record
Now record-enable the audio track you selected. You may also hear this called arming the track. It just means telling your DAW, “This is the track I want you to record.”
If you want to hear what the mic is picking up while you record, turn on input monitoring. That lets you hear the incoming microphone or instrument through your recording setup. Depending on your DAW, it may say Input Monitoring or just have a little speaker icon.
Some interfaces also have direct monitoring, which lets you hear yourself directly through the interface instead of waiting for the sound to go into the computer and come back out. This can help if you’re hearing latency, which is that annoying little delay between what you play or sing and what you hear in your headphones.
At this point you should be able to hear audio through your headphones. When you’re ready, hit the main Record button and record away!
One note: If your mic is in the same space as your monitors, which are the speakers you use to listen while recording and mixing, switch them off or turn them all the way down while you record. Otherwise you’ll record the sound coming out of the speakers along with your vocal or instrument.
That will sound less than awesome.
Listen before you fix
Before you start throwing a bunch of plug-ins on your recording, listen to what you actually recorded. Plug-ins are software tools inside your DAW that let you process and change the sound.
Can you hear your air conditioner? Is there a computer fan in the background? Is something buzzing? Are your P’s blowing up the microphone? Did you just need to sing it again?
A lot of recording problems are much easier to fix by recording the part again than trying to repair it afterward.
Get the source sounding good first. Then worry about everything else.
Share
Once you’ve recorded everything, you’ll probably want to turn all those individual tracks into one file you can actually send to somebody.
This is usually called exporting, which simply means creating a finished audio file outside of your DAW. Depending on the software, you may also see the words Bounce or Mixdown. Different words, same basic job: taking everything in your recording session and turning it into one finished file.
If you want a high-quality version, export a WAV file. WAV is an uncompressed audio format, meaning it keeps the full quality of your recording instead of making the file smaller by throwing audio information away.
If you just want something you can easily email or text to somebody, export an MP3. MP3 is a compressed audio format, which makes the file much smaller and easier to share.
Keep the WAV, though. That’s the good one.
What comes next?
Recording yourself is really just the beginning. From there you can get into editing, production, mixing and mastering.
Editing is cleaning up and adjusting what you recorded. Production is the bigger process of shaping the song and deciding how the recording should sound. Mixing is balancing all of those individual tracks together. Mastering is the final audio step that prepares the finished mix for release.
We’ll get into all of that throughout the Recording & Production track.
If what you’re recording is eventually headed for Spotify, Apple Music or other stores and streaming services, you’ll also need music distribution, which is how finished recordings get delivered to those services. Before you start announcing dates, read Erin Moorman’s guide on why you shouldn’t promote a release before submitting it for distribution. It’ll save you a headache later.
For now, don’t overthink it. Get your gear talking to your software, get a clean signal and hit Record.
You can always buy more gear later. I have faith in you.